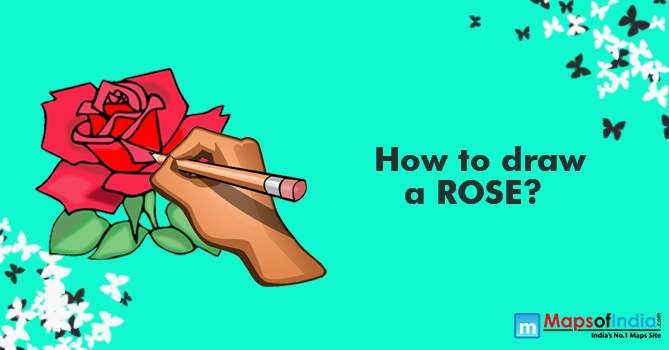
 Learn to draw Rose, step by step guide for beginners.[/caption]
Roses are popular and one of the beautiful flowers, commonly seen as a symbol of love. They're made of multiple layers of petals. One needs to add them carefully one by one and then shade the whole construction.
To draw a rose, one needs to have a hard pencil, medium-soft pencil (2B or slightly below), soft pencil (5B or below), drawing sheet of paper, pencil, eraser and a sharpener.
A rose's shape changes continuously as it grows, making it more challenging for the artist to answer the most fundamental question: What shape is it? Second, a rose is a soft and delicate object that requires some skills and sensitivity.
Learn to draw Rose, step by step guide for beginners.[/caption]
Roses are popular and one of the beautiful flowers, commonly seen as a symbol of love. They're made of multiple layers of petals. One needs to add them carefully one by one and then shade the whole construction.
To draw a rose, one needs to have a hard pencil, medium-soft pencil (2B or slightly below), soft pencil (5B or below), drawing sheet of paper, pencil, eraser and a sharpener.
A rose's shape changes continuously as it grows, making it more challenging for the artist to answer the most fundamental question: What shape is it? Second, a rose is a soft and delicate object that requires some skills and sensitivity.
Before knowing how to draw a rose, let's us understand its parts.
- Sepals: Roses have five sepals. They are green, leaf-like coverings that shield the rosebud before it flourishes. As a flower opens, the sepals turn down and may be concealed by the flower at last.
- Petals: Before a rose flower's path gets cleared, all petals are hidden behind sepals. A single rose flower may contain five to 50 petals considering a specific type. Most commonly, roses with numerous rows of petals have 3-5 petals per row.
- Leaves and Leaflets: Roses don't have single leaves evolving directly from the steam. The leaflets nearest to the rosebud commonly have three leaves, while the rest of the leaflets may comprise five or even seven leaves nearer to the base of the steam.
- Hips: Hips act as a base for rose flowers. Sepals and petals are connected to it.
Following are the steps to draw a rose.
- Begin your rose flower drawing by making three general markings. For the rosebud, draw a circle; for the hip and sepals, create an oval, while for the steam, make a slightly curved double line beside the central axis. Try drawing these lines by taking a light pressure since these are only guidelines that need to be followed by an artist to give the final output of it.
- Now, draw rose petals starting from the top central part. Make lines darker at this juncture. Include two petals for the second layer to the left and the right of the main part.
- Daw four ovals beginning from the bottom. Each oval will be acting as a guide for a layer of petals. Considering the previous step, use a light pencil pressure for these oval guidelines.
- For the second layer, including the third rose petal, draw one long horizontal petal around the guideline of the third layer. Then draw one more petal above it. You are nearly done with the third layer.
- Before completion of the third layer of rose petals, now finalize the second layer. Draw one more second layer petal in the middle, and don't forget numerous vertical lines there. Finally, add one more third layer petal on the right side.
- Begin the process to draw a couple of big outer rose petals on the left side.
- Add another outer petal on the right without forgetting to draw the round bottom of the rose.
- Draw sepals and leaflets with three leaves. From one's perspective, one can view only four sepals, so draw only four because the fifth one is behind the rosebud. Next, make the hip and steams for leaflets.
- The last few steps comprise Thorns on the rose steam, a trademark of this gorgeous flower. Sharp thorns and jagged edges of the rose leaves develop an effective juxtaposition adding to the beauty of the rose flower.
- The last step is a pleasant one as it's colouring. Use any colour you want, such as red, yellow, pink, to make it more attractive.