Facebook
Twitter
Sign in
Travel
Unusual India
Food
Beverages
Breads
Breakfast Recipes
Continental Food Recipes
Desserts and Sweets Recipes
Festival and Celebration Cuisines
Indian Chinese Cuisine
Indian Main course Recipes
Indian Pickles and Chutney Recipes
Indian Raita Recipes
Indian Starters Recipes
Indian Street Food Recipes
Indian Vegetarian Recipes
Italian Food Recipes
India
Cricket
Reviews
Book Reviews
Cars
Indian Restaurant Food Reviews
Movies
Movies
Upcoming Movies
MORE
Politics
Election Updates
Government
Business
Education
History
Cities
Automobiles
Social Issues
Society
Subcontinent
Technology
Humour
Science
Events
Uncategorized
Sign in
Welcome!
Log into your account
your username
your password
Forgot your password?
Password recovery
Recover your password
your email
Search
Sign in / Join
Sign in
Welcome! Log into your account
your username
your password
Forgot your password? Get help
Password recovery
Recover your password
your email
A password will be e-mailed to you.
My India
Travel
Unusual India
Food
Beverages
Breads
Breakfast Recipes
Continental Food Recipes
Desserts and Sweets Recipes
Festival and Celebration Cuisines
Indian Chinese Cuisine
Indian Main course Recipes
Indian Pickles and Chutney Recipes
Indian Raita Recipes
Indian Starters Recipes
Indian Street Food Recipes
Indian Vegetarian Recipes
Italian Food Recipes
India
Cricket
Reviews
Book Reviews
Cars
Indian Restaurant Food Reviews
Movies
Movies
Upcoming Movies
MORE
Politics
Election Updates
Government
Business
Education
History
Cities
Automobiles
Social Issues
Society
Subcontinent
Technology
Humour
Science
Events
Uncategorized
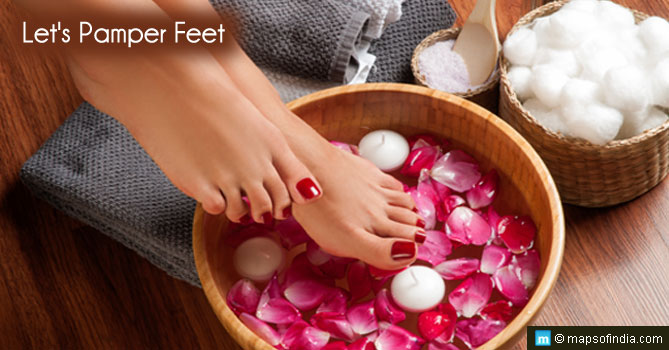
DIY Pedicure with Natural Ingredients
DIY Pedicure Guide
DIY Pedicure Guide
Our feet need pampering from time to time. And, a pedicure is just your go-to option for that.